
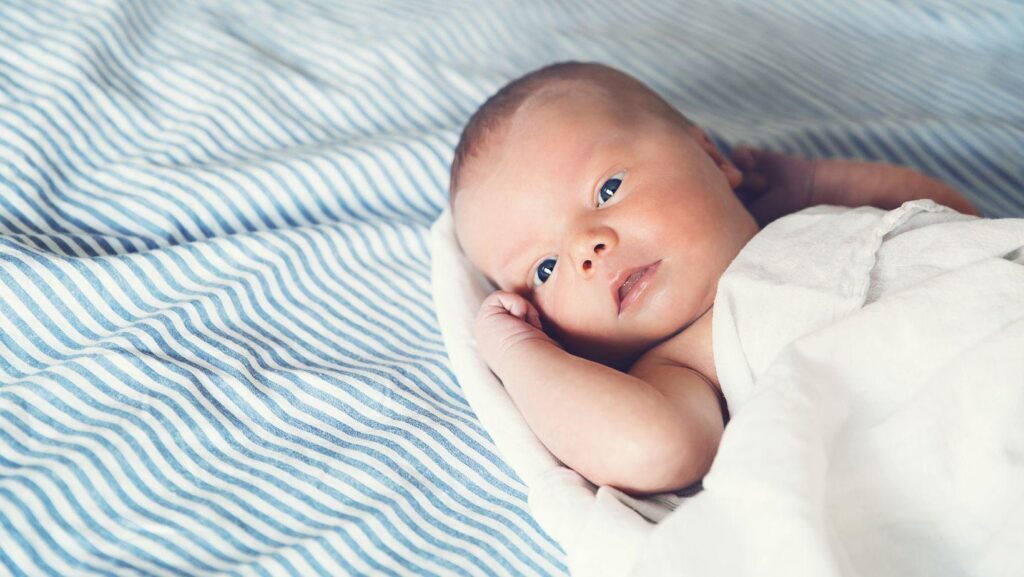
The first few days with your little new family member may fly by in a cycle of quiet mornings, short sleeps, feedings, and tiny shifts you observe from day one to the next. This is exactly why lots of parents end up using their cameras and cell phones even more than they normally do. They capture a fleeting moment that they intend to share someday with their child, to show them how loved they were from day one.
A newborn baby photoshoot is much less about trying to make the baby hold a pose and more about capturing the moments that fly by too fast. A child sleeping peacefully with a small hand resting on dad’s chest, or a baby nestling into mom’s arms and smiling, could express much more than a perfectly posed photograph.
In this guide, we explain how to take newborn photos. We provide practical tips for choosing the right light, setting up simple shots, and capturing natural moments with your baby.
Tip 1: Make the Light Work for You
A large window creates soft, natural lighting that makes the baby’s skin tones glow. Find an area where sunlight enters your room, but not a lot of direct sunlight hits where the baby is set up. If the light is too strong, just move the child away from the window or throw a sheer curtain.
Try taking a few test shots from different angles before you begin. See the variation of light across your baby’s face, and be aware that you do not want your strongest light directly behind their head unless you prefer a darker, silhouetted feel.
If you want to experiment with different illumination types without disturbing and overwhelming your precious little subject, run your test shot through the baby photo editor with relighting tools to see what works best.
Tip 2: Keep the Setup Simple
A baby photoshoot at home does not need complex props. Make a clean bed and a plain duvet cover, or a cozy space, on an empty background. Look through your frame before taking your photo and try to remove anything that draws the eye away.
Tip 3: Capture Details
The surroundings should be familiar and comfortable for your little one. Bring in a little family accessory or their favorite baby blanket to create a more cozy picture. One of the biggest parts of infant photography is that they are so little and change every day. Newborn photography ideas can be based on the baby’s small fingers holding onto yours, their toes, profile, or a deep sleep.
Try photographing the same detail from several angles. A hand resting on a parent’s shoulder can look completely different from above, while a side view may highlight the baby’s eyelashes or soft expression. It will also ensure a diverse photo collection without disturbing and moving the baby. Move in close and fill the frame with a single feature rather than overloading it with extra elements.
Tip 4: Include Everyday Connections
Baby photography ideas work better when parents step into the frame. Focus on simple interactions: holding the baby close, touching tiny fingers, sharing a quiet look, or settling them after a nap. Prioritize sincerity over stiff poses.
If possible, ask a partner, another relative, or friend to take a picture of you holding the baby, or set your camera on a flat surface and use the timer mode. There should be a bit of room around the subjects to represent their home environment. Years later, these photographs can show not only what your baby looked like, but also the people who were there from the very beginning.
Tip 5: Let the Baby Set the Pace
Understanding how to take your own newborn photos requires planning, but it does not mean you should predict every second. Be observant; there are always moments of stillness that should be used to take some pictures before the baby starts to squirm around or wants to eat. If the baby was hungry, needed a new outfit, wanted attention, or needed a time-out, break up the session. Safety and security are the top concerns.
You may turn anything that happens out of the blue into part of the story, like stretching, looking around, or making a funny face, which would create a much more wonderful picture than a staged composition.
Tip 6: Consider Safety
Have the baby on a stable surface within immediate reach. Do not use anything raised, fancy, or requiring the baby balancing on furniture or props. Be especially careful with blankets, pillows, toys, and other items placed around the baby. Keep the space clear and comfortable, and stop if your baby seems unsettled. If you see elaborate poses online, remember that some require professional training and an assistant. For a home session, simple positions with an adult providing support are the safer choice.
Conclusion
You do not need elaborate equipment or a perfectly styled room to photograph your baby’s first days. Start with what you have, take your time, and do not worry about making every frame perfect. Choose the photos that make you pause and smile, give them a subtle finishing touch if needed, and build a collection that reflects love and connection.